The scenario is that you have set up your paypal donate button to accept payments/donations on your site or blog, however after following the steps mentioned on various tutorials, you are still unable to get the button working on your page.
Here the most common problem is that the outdated tutorials have wrong steps mentioned which adds to the chaos and confusion, As of now this is the only tutorial on the internet that correctly and accurately guides you to properly set up a paypal donate button on your blog or website.
So let's begin, shall we?
Open the secret link to donate button from here.
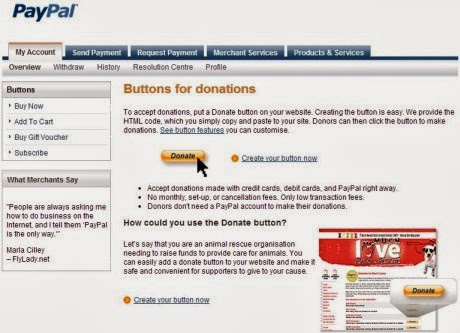
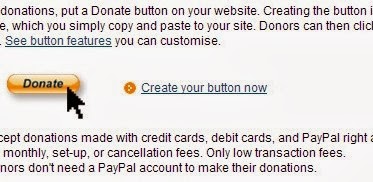

On the page that opens, click the "Create your button now" link

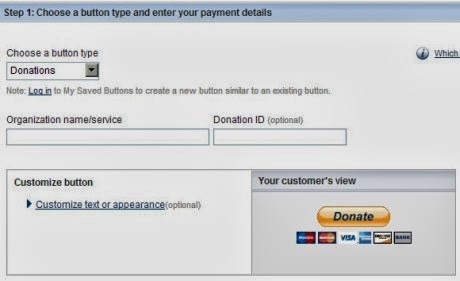
Finally you will get to the button configuration page where you can customize and set up your donate button

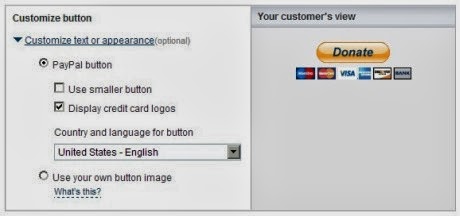
Customize your text, or use your own button if you like

After you are done with customization, scroll down and enter your email address. Then click on create button,

Click on "Select Code" button , copy the selected code and paste it to you page

You could also generate the email link from the email tab and create a Paypal donate link instead of Button.
JellyBean firmware update for samsung galaxy grand duos is finally arrived in India. There are also rumors that this shall be the last and final firmware upgrade for Galaxy Grand. Many things have changed after this upgrade
Image credit : By MiniDwarf (Own work) [CC-BY-SA-3.0 (http://creativecommons.org/licenses/by-sa/3.0)], via Wikimedia Commons
|
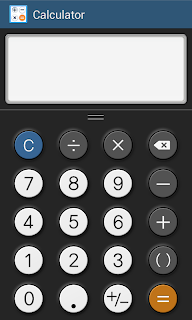
: Like the Calculator :
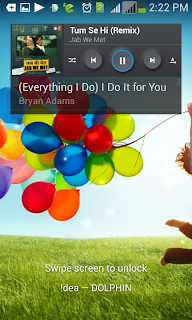
The New Lockscreen, with active controls for music player without unlocking the screen.
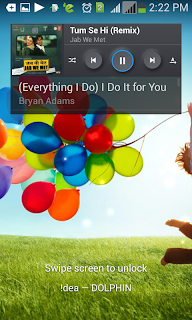
Expandable widgets on Lockscreen.
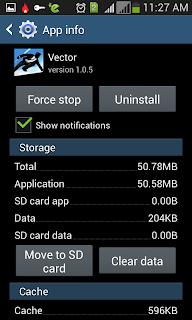
New Application Manager, with the option to move the Apps to your SD Card, No need to use Apps2SD and similar apps to free up your phone memory.
Option Menus : Grouped into different tabs.
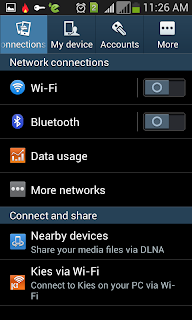
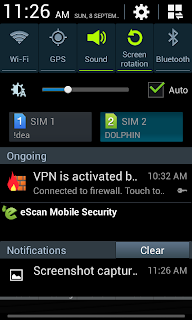
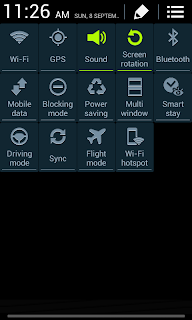
One touch notification buttons, select and modify your choice of buttons
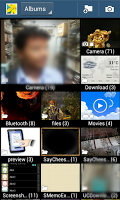
New (and improved) Gallery
It also changes the look of the homescreen
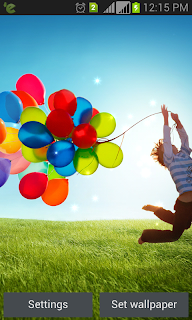
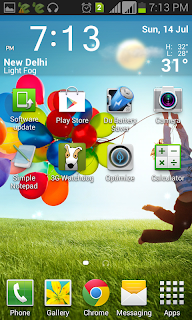
| By Luca9797 (Own work) [CC-BY-SA-3.0 (http://creativecommons.org/licenses/by-sa/3.0)], via Wikimedia Commons |
JellyBean 4.2.2 Update
Reviewed by Rishi Kumar on .
Changes in JellyBean 4.2.2 Update
Rating: 4.0
Reviewed by Rishi Kumar on .
Changes in JellyBean 4.2.2 Update
Rating: 4.0
In this tutorial you will learn that it is relatively easy to setup a wi-fi network at home and all your devices can easily access internet through wi-fi. However you will need a wi-fi enabled laptop.(Which we will turn into a wi-fi hotspot)
Ideally this is the scenario : You have a wifi enabled laptop and a wired/wireless internet connection through which you access the internet, you also have one or more smartphones/tablets or any other wifi devices. What you do not have, is a piece of hardware called wireless router, which creates a wifi network for all your devices.
What you want : is to connect any or all of your devices to your own personal wifi network.
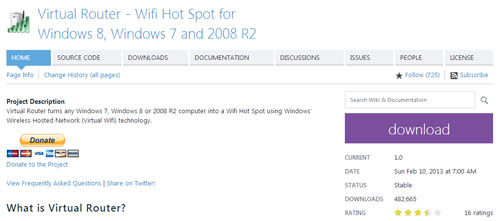
All you need is a small piece of free software called "Virtual Router" from http://virtualrouter.codeplex.com which is a software based virtual router.
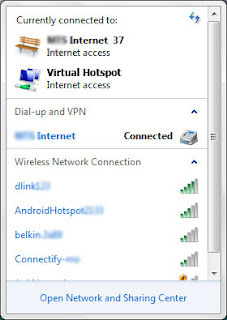
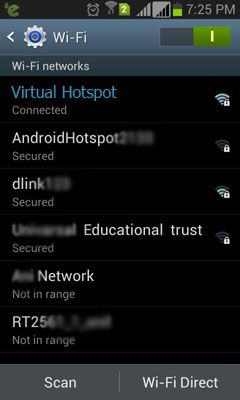
The dashboard of Virtual Router will show the peers connected once your devices have connected to your laptop using wifi. Now (In Windows 7) Go into Control Panel > Network and Internet > Network Sharing Center > Change Adapter Settings
and right click and change the "properties" of Microsoft Virtual WiFi Miniport Adapter and go to sharing tab then click the check mark to allow other users to share the internet connection.
Ideally this is the scenario : You have a wifi enabled laptop and a wired/wireless internet connection through which you access the internet, you also have one or more smartphones/tablets or any other wifi devices. What you do not have, is a piece of hardware called wireless router, which creates a wifi network for all your devices.
What you want : is to connect any or all of your devices to your own personal wifi network.
All you need is a small piece of free software called "Virtual Router" from http://virtualrouter.codeplex.com which is a software based virtual router.

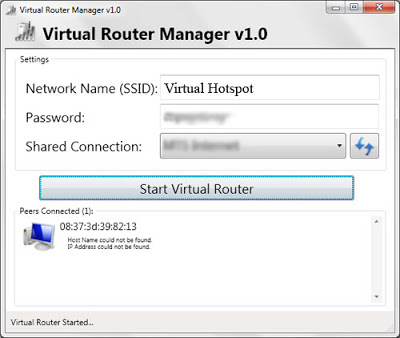
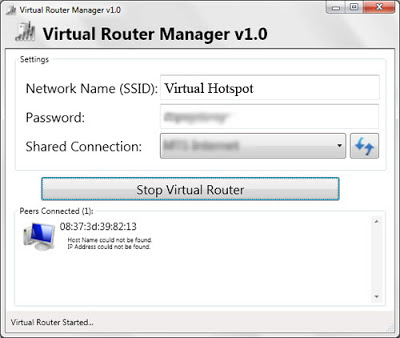
After download, follow the instructions and set it up. Now run the software :

Give any name of your choice in Network Name(SSID),[ This name is a going to appear in network connections and your other devices will find it using this name ]
Set a password for your hotspot and select the internet connection in the shared connection drop down.

The connection will show up in network connections, then switch on your wifi on your device

The dashboard of Virtual Router will show the peers connected once your devices have connected to your laptop using wifi. Now (In Windows 7) Go into Control Panel > Network and Internet > Network Sharing Center > Change Adapter Settings
and right click and change the "properties" of Microsoft Virtual WiFi Miniport Adapter and go to sharing tab then click the check mark to allow other users to share the internet connection.

Congratulations! now you have a free private wifi network for all your wifi devices.
After our earlier post on How to add PayPal donate button to your blog, We were asked if there is a way to generate a PayPal Donate Link instead of a "paypal donate button". So, Here's how you can generate a text link for your site or blog for online fundraising.
If you don't have a paypal account yet, Sign up for PayPal free account
After you have your login ID/password, Login to your account. Then click the
"merchant services" tab.
scroll down and on the right sidebar, find the box labelled key features, click on the link named "Donations"
After clicking on that link, you will taken to "Create paypal payment button" page, just make sure that donations is selected in the "Accept Payments for" dropdown box. You can type a name/id for this button
Down below you can customize your paypal button by selecting options like using smaller button, displaying credit card logos, changing language, currency, contribution amount or use your own graphic as a button.
Step 2 & 3 are optional and requires a business account, so leave them for now. and click on create button.
On the next page you get the code for your website/blog, just copy the entire code from the textbox and paste it to your blog or website.
The next page generates two code boxes, the first one is for the button and the second one is text link for email and sites, copy the entire code from the second textbox and paste it into your template of your website or blog, where you want it to appear. You can choose to display your own anchor text and wrap the code around it. eg: PayPal Fundraising Campaign
Blogger users read the post on How to add HTML or JavaScript into blogger


